Home Blog Page 27

Chopped Greek Salad With Chicken

0

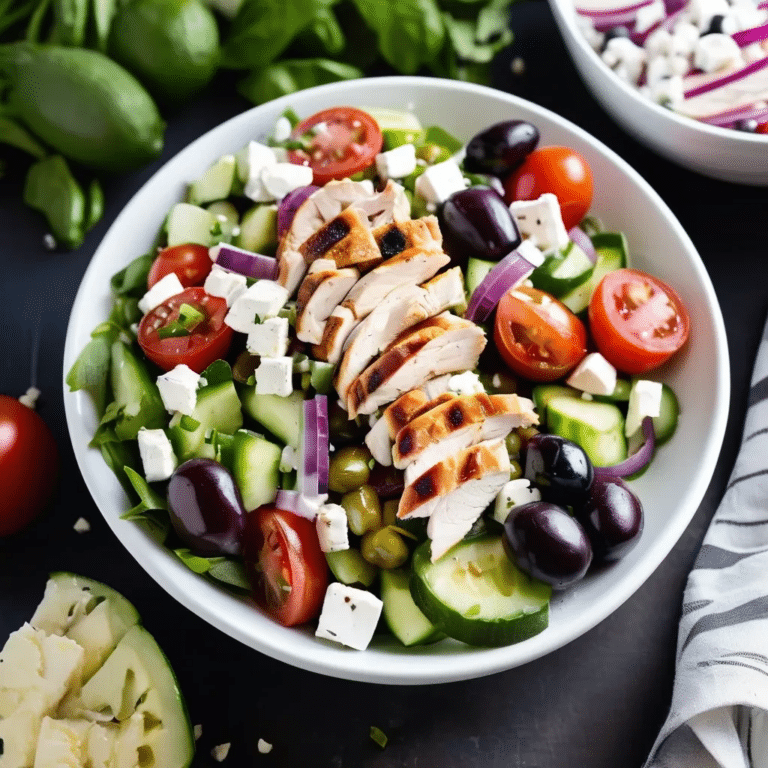
Chopped Greek Salad with Chicken is a vibrant and hearty dish that combines the bold flavors of a classic Greek salad with the protein-packed goodness of grilled chicken. Filled with crisp cucumbers, juicy tomatoes, tangy Kalamata olives, red onion, and creamy feta, this salad offers a delightful mix of textures and flavors. The grilled chicken adds a satisfying element that makes this dish perfect as a main course. Tossed in a light lemon-oregano vinaigrette, this salad is fresh, healthy, and bursting with Mediterranean flavors—ideal for a light lunch or dinner that feels both nourishing and delicious.

Ingredients

For the salad:

  • 2 grilled chicken breasts, sliced
  • 4 cups chopped romaine lettuce
  • 1 cucumber, diced
  • 1 cup cherry tomatoes, halved
  • 1/2 cup Kalamata olives, pitted and halved
  • 1/4 cup red onion, thinly sliced
  • 1/2 cup crumbled feta cheese
  • 1/4 cup chopped fresh parsley (optional)

For the lemon-oregano vinaigrette:

  • 1/4 cup olive oil
  • 2 tbsp fresh lemon juice
  • 1 tsp dried oregano
  • 1 clove garlic, minced
  • Salt and pepper to taste

Instructions

  1. Grill the chicken: Season the chicken breasts with salt, pepper, and a pinch of oregano. Grill over medium heat for 6-7 minutes per side, or until fully cooked. Let the chicken rest, then slice into strips.
  2. Make the vinaigrette: In a small bowl, whisk together the olive oil, lemon juice, dried oregano, minced garlic, salt, and pepper until well combined.
  3. Assemble the salad: In a large bowl, combine the chopped romaine, cucumber, cherry tomatoes, olives, red onion, and feta cheese. Add the sliced grilled chicken on top.
  4. Toss and serve: Drizzle the lemon-oregano vinaigrette over the salad and toss gently to coat. Garnish with chopped fresh parsley if desired and serve immediately.

This Chopped Greek Salad with Chicken is a fresh, flavorful meal that’s perfect for a healthy lunch or light dinner, offering a delicious combination of Mediterranean flavors and textures!

Whole Wheat Oatmeal Pancakes

0

Whole Wheat Oatmeal Pancakes are a hearty and wholesome breakfast option that combines the nutty flavor of whole wheat flour with the satisfying texture of rolled oats. These pancakes are not only delicious but also packed with fiber and nutrients, making them a perfect way to start your day on a healthy note. Lightly sweetened with a hint of honey or maple syrup and spiced with a touch of cinnamon, these pancakes have a warm, comforting flavor that pairs beautifully with fresh fruit, nuts, or a drizzle of syrup. Whether you’re making breakfast for the family or meal prepping for the week, Whole Wheat Oatmeal Pancakes are a nutritious and tasty choice.

Ingredients:

  • 1 cup whole wheat flour
  • 1/2 cup rolled oats
  • 1 tablespoon baking powder
  • 1/2 teaspoon ground cinnamon
  • 1/4 teaspoon salt
  • 1 cup milk (dairy or plant-based)
  • 1/2 cup plain yogurt (or applesauce for a dairy-free option)
  • 1 large egg
  • 2 tablespoons honey or maple syrup
  • 1 teaspoon vanilla extract
  • 2 tablespoons melted coconut oil or butter

Instructions:

  1. Prepare the Dry Ingredients: In a large mixing bowl, whisk together the whole wheat flour, rolled oats, baking powder, ground cinnamon, and salt.
  2. Mix the Wet Ingredients: In a separate bowl, whisk together the milk, yogurt, egg, honey or maple syrup, vanilla extract, and melted coconut oil or butter until well combined.
  3. Combine the Batter: Pour the wet ingredients into the dry ingredients and stir until just combined. Be careful not to overmix; the batter should be slightly lumpy.
  4. Let the Batter Rest: Let the batter sit for 5-10 minutes. This allows the oats to soften and the baking powder to activate, giving you fluffier pancakes.
  5. Cook the Pancakes: Heat a non-stick skillet or griddle over medium heat and lightly grease it with oil or butter. Pour 1/4 cup of batter onto the skillet for each pancake. Cook for 2-3 minutes, or until bubbles form on the surface and the edges look set. Flip the pancakes and cook for another 1-2 minutes, until golden brown and cooked through.
  6. Serve: Serve the pancakes warm, topped with your favorite toppings like fresh fruit, nuts, a drizzle of syrup, or a dollop of yogurt.

These Whole Wheat Oatmeal Pancakes are a delicious and nutritious way to start your day, offering a perfect balance of taste and health in every bite.

Quinoa Tabbouleh Salad

0

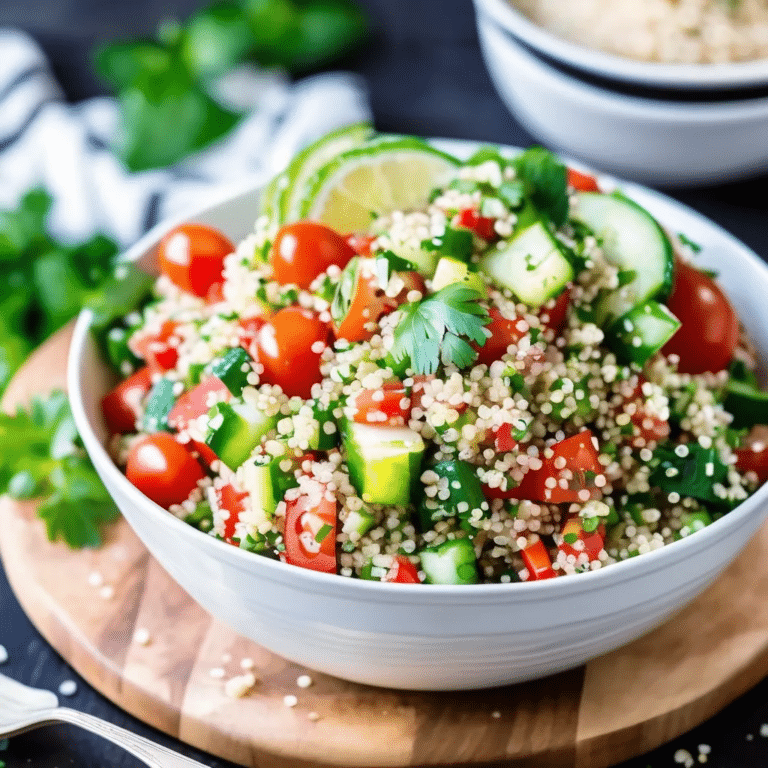
Quinoa Tabbouleh Salad is a refreshing and nutritious twist on the classic Middle Eastern dish, substituting traditional bulgur with protein-packed quinoa. This vibrant salad is bursting with fresh flavors from finely chopped parsley, mint, tomatoes, and cucumbers, all tossed in a light lemon and olive oil dressing. The quinoa adds a delightful texture and a boost of nutrients, making it a perfect side dish or light meal. Whether you’re looking for a healthy option for lunch or a delicious side for your dinner, Quinoa Tabbouleh Salad is a versatile and satisfying choice that’s full of flavor and goodness.

Ingredients:

  • 1 cup quinoa, rinsed
  • 2 cups water
  • 1/2 teaspoon salt (for cooking quinoa)
  • 1 large bunch parsley, finely chopped
  • 1/2 cup fresh mint leaves, finely chopped
  • 1 pint cherry tomatoes, quartered
  • 1 cucumber, diced
  • 3 green onions, finely sliced
  • 1/4 cup extra-virgin olive oil
  • 1/4 cup freshly squeezed lemon juice (about 2 lemons)
  • Salt and pepper, to taste

Instructions:

  1. Cook the Quinoa: In a medium saucepan, combine the rinsed quinoa, water, and 1/2 teaspoon salt. Bring to a boil, then reduce the heat to low, cover, and simmer for 15 minutes or until the quinoa is tender and the water is absorbed. Remove from heat, fluff with a fork, and let it cool to room temperature.
  2. Prepare the Vegetables and Herbs: While the quinoa is cooling, finely chop the parsley and mint, and prepare the tomatoes, cucumber, and green onions.
  3. Mix the Salad: In a large mixing bowl, combine the cooled quinoa, chopped parsley, mint, tomatoes, cucumber, and green onions.
  4. Dress the Salad: In a small bowl, whisk together the olive oil and lemon juice. Pour the dressing over the quinoa mixture and toss well to combine. Season with salt and pepper to taste.
  5. Serve: Let the salad sit for at least 15 minutes to allow the flavors to meld before serving. Serve chilled or at room temperature.

This Quinoa Tabbouleh Salad is a light, flavorful, and healthy dish that’s perfect for any occasion, offering a fresh take on a classic recipe with added nutritional benefits.

Mango Margarita

0

Mango Margarita is a tropical twist on the classic margarita, bringing the sweet and juicy flavor of ripe mangoes together with the tangy kick of lime and the smooth warmth of tequila. This vibrant cocktail is refreshing and perfect for summer gatherings, festive celebrations, or simply to enjoy a taste of the tropics at home. Blended to a silky smooth consistency or shaken over ice, Mango Margaritas are as delicious as they are easy to make. Garnish with a slice of lime or a chili-salt rim for an extra touch of flavor that enhances the fruity, zesty notes of this irresistible drink.

Ingredients:

  • 2 ripe mangoes, peeled and cubed (or 1 1/2 cups mango puree)
  • 1/2 cup tequila
  • 1/4 cup triple sec (orange liqueur)
  • 1/4 cup freshly squeezed lime juice
  • 1-2 tablespoons simple syrup or agave nectar (optional, to taste)
  • Ice cubes
  • Lime wedges, for garnish
  • Salt or chili-salt mix, for rimming the glass (optional)

Instructions:

  1. Prepare the Glasses: If desired, run a lime wedge around the rim of your margarita glasses and dip the rims into a plate of salt or chili-salt mix. Set the glasses aside.
  2. Blend the Ingredients: In a blender, combine the mango cubes (or mango puree), tequila, triple sec, lime juice, and simple syrup or agave nectar if using. Add a handful of ice cubes. Blend until smooth and creamy. If you prefer a frozen margarita, add more ice and blend again until you reach your desired consistency.
  3. Adjust Sweetness: Taste the margarita mixture and adjust the sweetness by adding more simple syrup or agave nectar if needed.
  4. Serve: Pour the mango margarita into the prepared glasses. Garnish with a lime wedge and serve immediately.

This Mango Margarita is a refreshing and flavorful cocktail that adds a tropical flair to any occasion, making it a perfect choice for sipping on a sunny day or celebrating with friends!

Mini Pecan Tarts

0

Mini Pecan Tarts are delightful bite-sized treats that capture all the rich, buttery goodness of a classic pecan pie in a perfectly portioned tart. These tarts feature a flaky, golden crust filled with a gooey, sweet pecan filling that’s studded with crunchy pecans. They’re the perfect addition to any dessert table, offering a deliciously indulgent treat that’s both elegant and easy to enjoy. Whether you’re hosting a holiday gathering, a special occasion, or simply craving a sweet, nutty treat, Mini Pecan Tarts are sure to impress with their irresistible flavor and texture.

Ingredients:

For the Crust:

  • 1/2 cup unsalted butter, softened
  • 3 oz cream cheese, softened
  • 1 cup all-purpose flour
  • 1/4 teaspoon salt

For the Filling:

  • 1 large egg
  • 3/4 cup packed brown sugar
  • 1 tablespoon unsalted butter, melted
  • 1 teaspoon vanilla extract
  • 1 cup chopped pecans

Instructions:

  1. Prepare the Crust: In a medium mixing bowl, cream together the softened butter and cream cheese until smooth. Gradually add the flour and salt, mixing until a soft dough forms. Wrap the dough in plastic wrap and refrigerate for at least 30 minutes to chill.
  2. Preheat the Oven: Preheat your oven to 350°F (175°C). Lightly grease a mini muffin tin.
  3. Form the Tart Shells: Divide the chilled dough into 24 equal portions. Roll each portion into a ball and press it into the bottom and up the sides of each mini muffin cup to form a small tart shell.
  4. Prepare the Filling: In a small bowl, whisk together the egg, brown sugar, melted butter, and vanilla extract until smooth. Stir in the chopped pecans.
  5. Fill the Tarts: Spoon about 1 teaspoon of the pecan filling into each tart shell, filling them just below the rim.
  6. Bake: Bake the tarts in the preheated oven for 20-25 minutes, or until the crust is golden brown and the filling is set.
  7. Cool and Serve: Allow the tarts to cool in the pan for a few minutes before removing them to a wire rack to cool completely. Serve them at room temperature, and enjoy!

These Mini Pecan Tarts are a delightful and elegant way to enjoy the classic flavors of pecan pie, perfect for sharing at any occasion.

Spring Green Salad

0

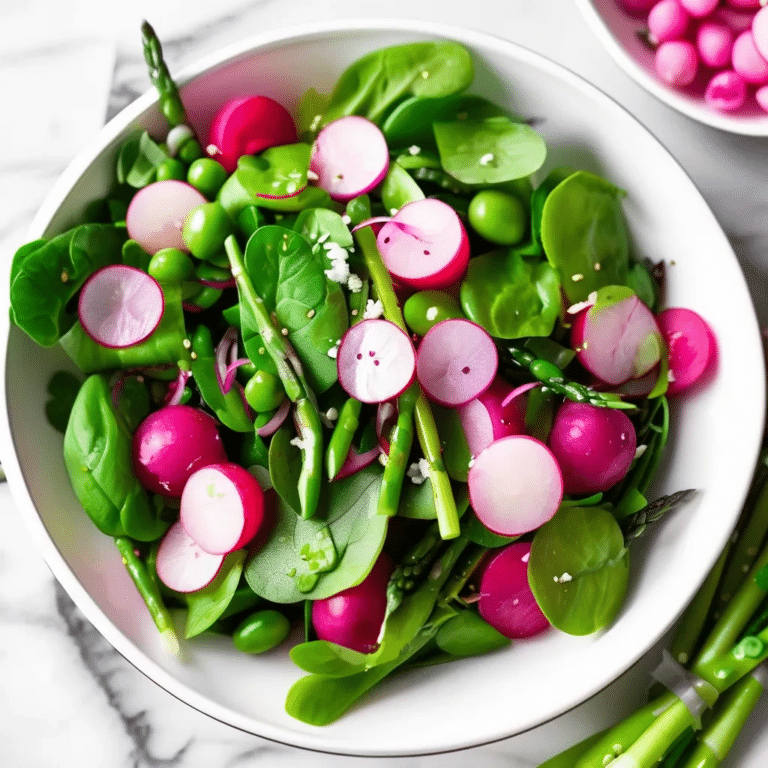
Spring Green Salad is a vibrant and refreshing dish that celebrates the fresh, crisp flavors of seasonal greens and vegetables. This light and healthy salad is perfect for warmer weather, offering a mix of tender baby greens, crunchy radishes, asparagus, and peas, all tossed in a simple lemon vinaigrette. The combination of textures and the zesty dressing make it an ideal side dish for any meal or a refreshing main course when topped with grilled chicken or salmon. With its bright colors and fresh ingredients, this Spring Green Salad is a delicious way to enjoy the flavors of the season.

Ingredients

  • 4 cups mixed baby greens (spinach, arugula, or spring mix)
  • 1/2 cup fresh peas or thawed frozen peas
  • 1/2 cup asparagus, blanched and cut into 1-inch pieces
  • 4 radishes, thinly sliced
  • 1/4 cup thinly sliced red onion
  • 1/4 cup toasted sunflower seeds or sliced almonds (optional)

For the lemon vinaigrette:

  • 3 tbsp olive oil
  • 1 tbsp fresh lemon juice
  • 1 tsp Dijon mustard
  • 1 tsp honey
  • Salt and pepper to taste

Instructions

  1. Blanch the asparagus: Bring a small pot of water to a boil and blanch the asparagus for 1-2 minutes until tender but still crisp. Drain and rinse under cold water to stop the cooking process.
  2. Make the vinaigrette: In a small bowl, whisk together the olive oil, lemon juice, Dijon mustard, honey, salt, and pepper until well combined.
  3. Assemble the salad: In a large bowl, combine the mixed baby greens, peas, asparagus, radishes, and red onion. Drizzle the lemon vinaigrette over the salad and toss gently to coat.
  4. Serve: Sprinkle the salad with toasted sunflower seeds or sliced almonds if desired, and serve immediately.

This Spring Green Salad is a crisp, colorful, and healthy dish that highlights the best of seasonal vegetables, making it a perfect addition to any meal or a light, refreshing lunch!

Sage And Onion Stuffing

0

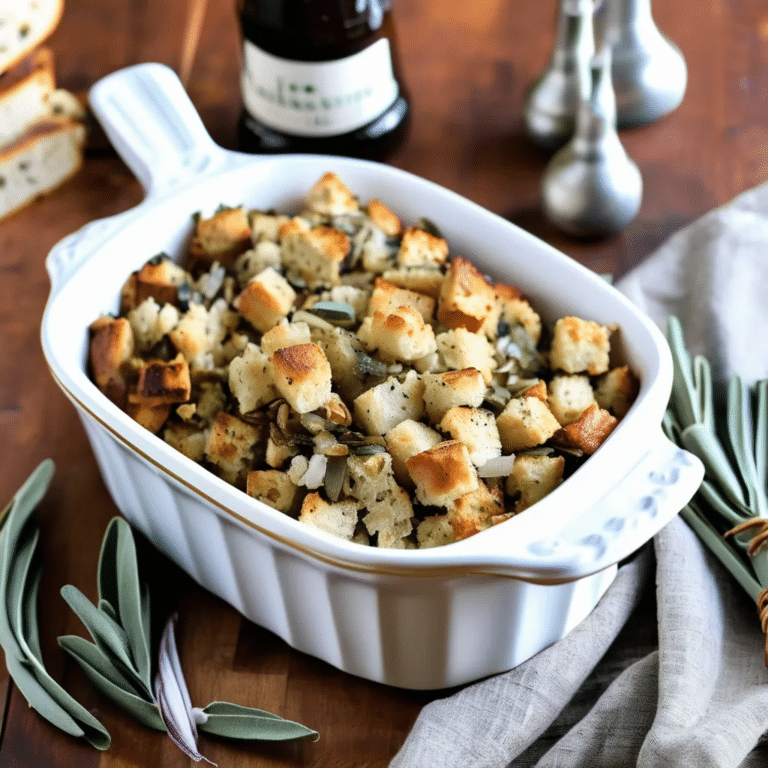
Sage and Onion Stuffing is a classic side dish that brings comforting, savory flavors to any meal, especially during the holiday season. This traditional stuffing combines the earthy aroma of fresh sage with the sweetness of sautéed onions, all mixed with cubes of bread that soak up the rich flavors. Baked until golden and crisp on top while remaining tender inside, Sage and Onion Stuffing pairs perfectly with roasted meats, particularly turkey or chicken. Whether served at a festive gathering or a cozy family dinner, this stuffing is sure to be a favorite on the table.

Ingredients:

  • 1 loaf of day-old bread (about 10 cups), cubed
  • 1/2 cup unsalted butter
  • 2 large onions, finely chopped
  • 3-4 stalks celery, finely chopped
  • 2-3 cloves garlic, minced
  • 2 tablespoons fresh sage, chopped (or 2 teaspoons dried sage)
  • 1 tablespoon fresh thyme, chopped (or 1 teaspoon dried thyme)
  • 1/2 teaspoon salt
  • 1/2 teaspoon ground black pepper
  • 2-3 cups chicken or vegetable broth (as needed)
  • 2 large eggs, beaten
  • 1/4 cup fresh parsley, chopped (optional, for garnish)

Instructions:

  1. Prepare the Bread: Preheat your oven to 300°F (150°C). Spread the cubed bread in a single layer on a baking sheet and bake for about 10-15 minutes, or until the bread is dry and lightly toasted. Remove from the oven and set aside to cool. Increase the oven temperature to 350°F (175°C).
  2. Sauté the Vegetables: In a large skillet, melt the butter over medium heat. Add the chopped onions and celery, and sauté until they are soft and translucent, about 8-10 minutes. Add the minced garlic, chopped sage, and thyme, and cook for another 2-3 minutes, stirring frequently.
  3. Combine the Ingredients: In a large mixing bowl, combine the toasted bread cubes with the sautéed vegetables. Season with salt and pepper. Gradually add the chicken or vegetable broth, 1/2 cup at a time, until the bread is moist but not soggy. Stir in the beaten eggs to bind the stuffing together.
  4. Bake the Stuffing: Transfer the stuffing mixture to a greased baking dish. Cover the dish with aluminum foil and bake in the preheated oven for 30 minutes. After 30 minutes, remove the foil and bake for an additional 15-20 minutes, or until the top is golden brown and slightly crispy.
  5. Serve: Garnish with fresh parsley if desired and serve the stuffing warm alongside your favorite main dishes.

This Sage and Onion Stuffing is a timeless recipe that adds a deliciously fragrant and flavorful touch to any meal, making it an essential part of any festive feast.

Pizza Pockets

0

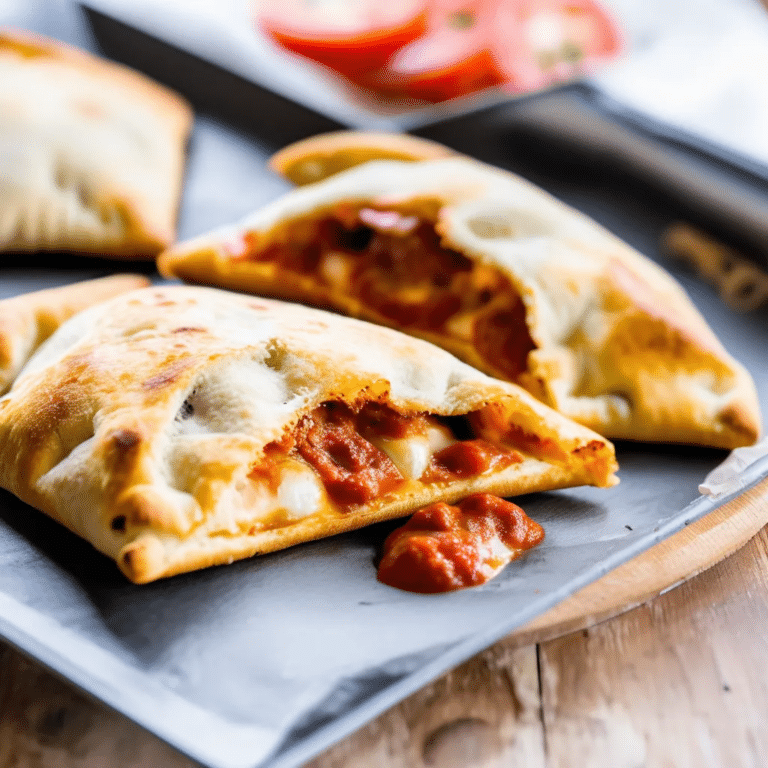
Pizza Pockets are a fun and convenient way to enjoy all the delicious flavors of pizza in a portable, hand-held form. These pockets are made by stuffing pizza dough with your favorite fillings—like gooey mozzarella, tangy tomato sauce, and savory pepperoni—then baking them to golden perfection. Perfect for a quick lunch, an easy dinner, or even a snack on the go, Pizza Pockets are customizable to suit any taste. Whether you prefer classic pepperoni and cheese or a veggie-loaded version, these homemade pockets are sure to satisfy your pizza cravings in a neat, no-mess package.

Ingredients:

  • 1 package pizza dough (store-bought or homemade)
  • 1/2 cup pizza sauce
  • 1 1/2 cups shredded mozzarella cheese
  • 1/2 cup pepperoni slices (or any preferred toppings like cooked sausage, mushrooms, or bell peppers)
  • 1 teaspoon dried oregano
  • 1 teaspoon dried basil
  • 1/4 cup grated Parmesan cheese (optional)
  • 1 egg, beaten (for egg wash)
  • Flour, for dusting

Instructions:

  1. Preheat the Oven: Preheat your oven to 400°F (200°C). Line a baking sheet with parchment paper.
  2. Prepare the Dough: On a lightly floured surface, roll out the pizza dough to about 1/4-inch thickness. Cut the dough into rectangles or circles, depending on your preferred pocket shape and size. You should aim for pieces that are about 4-5 inches across.
  3. Assemble the Pizza Pockets: Place a spoonful of pizza sauce in the center of each dough piece, leaving a small border around the edges. Sprinkle a generous amount of shredded mozzarella cheese on top of the sauce, followed by your desired toppings (like pepperoni, sausage, or veggies). Sprinkle a pinch of dried oregano and basil over the fillings.
  4. Seal the Pockets: Fold the dough over the fillings to create a pocket, pressing the edges together to seal. You can use a fork to crimp the edges and ensure they are tightly sealed. Brush the tops of the pockets with the beaten egg to give them a golden, shiny finish when baked.
  5. Bake: Transfer the pizza pockets to the prepared baking sheet. If desired, sprinkle a little grated Parmesan cheese on top. Bake in the preheated oven for 15-18 minutes, or until the pockets are golden brown and the dough is cooked through.
  6. Serve: Allow the pizza pockets to cool slightly before serving. Enjoy them warm, either on their own or with extra pizza sauce for dipping.

These Pizza Pockets are a delicious and versatile treat that’s perfect for any time you want a quick, satisfying meal or snack with all the flavors of your favorite pizza!

Sausage Potato Salad

0

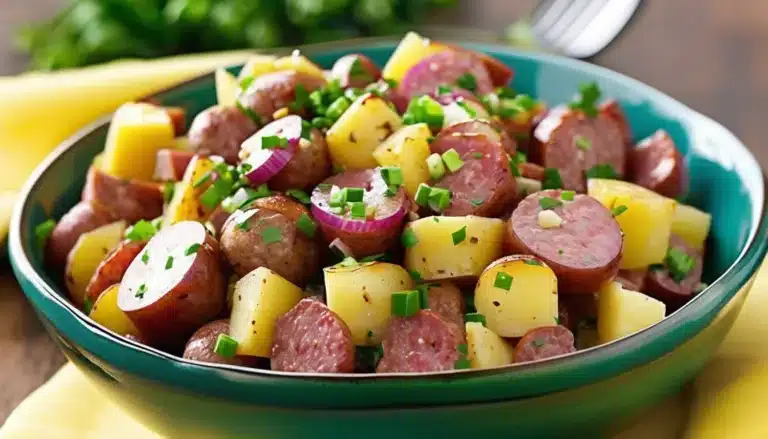
This hearty and flavorful Sausage Potato Salad is the perfect dish for gatherings, picnics, or potlucks. It’s a delicious twist on the classic potato salad, packed with the savory goodness of sausage, tender potatoes, and a vibrant mix of vegetables and seasonings. The smoky and slightly spicy sausage pairs wonderfully with the creamy potatoes, and the tangy dressing brings it all together for a satisfying side dish or light meal. Whether served warm or cold, this dish is sure to be a crowd-pleaser!

Ingredients:

  • 1 lb smoked sausage (or kielbasa), sliced
  • 2 lbs baby potatoes (red or Yukon gold), halved
  • 1/4 cup olive oil
  • 1 tbsp Dijon mustard
  • 2 tbsp red wine vinegar
  • 1/4 cup mayonnaise
  • 1/2 tsp smoked paprika
  • 1 small red onion, finely chopped
  • 1/2 cup celery, diced
  • 1/4 cup fresh parsley, chopped
  • 3 green onions, sliced
  • Salt and pepper, to taste

Instructions:

  1. Cook the potatoes: Place the halved potatoes in a large pot and cover with cold water. Bring to a boil and cook for about 10-12 minutes, or until the potatoes are fork-tender. Drain and set aside to cool slightly.
  2. Cook the sausage: While the potatoes are cooking, heat a large skillet over medium heat. Add the sliced sausage and cook until browned and slightly crispy, about 5-7 minutes. Remove from heat and set aside.
  3. Prepare the dressing: In a small bowl, whisk together olive oil, Dijon mustard, red wine vinegar, mayonnaise, smoked paprika, salt, and pepper until smooth and well combined.
  4. Combine the salad: In a large bowl, combine the cooked potatoes, sausage, red onion, celery, green onions, and parsley. Pour the dressing over the salad and gently toss to coat all the ingredients evenly.
  5. Serve: Taste and adjust seasoning with more salt and pepper if needed. Serve warm or chill in the fridge for 30 minutes before serving cold. Enjoy!

This Sausage Potato Salad is even better the next day, making it perfect for meal prep!

Salsa For Canning

0

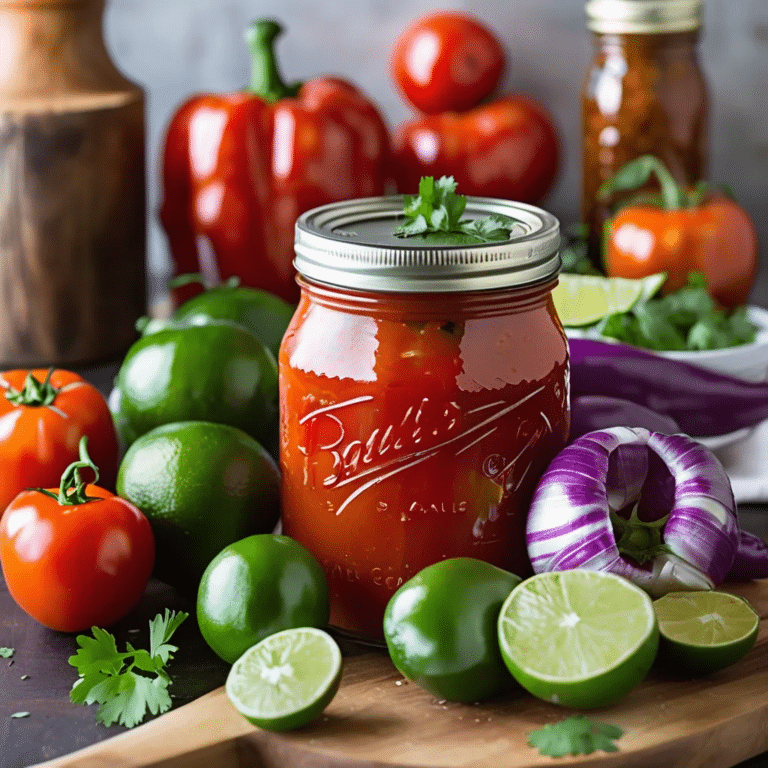
Homemade Salsa for Canning is a wonderful way to preserve the vibrant flavors of summer tomatoes, peppers, and herbs so you can enjoy them all year round. This salsa recipe strikes the perfect balance of fresh vegetables, zesty lime juice, and spices, making it a versatile condiment that’s great for everything from dipping chips to topping tacos. Canning your own salsa not only gives you control over the ingredients but also lets you savor the taste of homemade goodness long after the growing season has ended. This recipe is ideal for beginners and seasoned canners alike, offering a delicious, shelf-stable salsa that’s ready whenever you are.

Ingredients:

  • 10 cups chopped tomatoes (about 6-7 lbs)
  • 5 cups chopped onions
  • 2 1/2 cups chopped green bell peppers
  • 2 1/2 cups chopped jalapeño peppers (seeds removed for milder salsa)
  • 4 cloves garlic, minced
  • 1 cup apple cider vinegar
  • 1/4 cup lime juice
  • 2 tablespoons sugar (optional)
  • 1 tablespoon salt
  • 1 tablespoon ground cumin
  • 1 tablespoon dried oregano
  • 1 teaspoon black pepper
  • 1/4 cup chopped fresh cilantro (optional)

Instructions:

  1. Prepare the Canning Equipment: Sterilize your canning jars, lids, and rings by boiling them in water for 10 minutes. Keep the jars hot in the water until you’re ready to fill them. Prepare a large canning pot with a rack on the bottom.
  2. Cook the Salsa: In a large pot, combine the chopped tomatoes, onions, bell peppers, jalapeño peppers, garlic, vinegar, lime juice, sugar (if using), salt, cumin, oregano, and black pepper. Bring the mixture to a boil over medium-high heat, stirring frequently. Reduce the heat and let the salsa simmer for 10-15 minutes, until it thickens slightly.
  3. Fill the Jars: Carefully ladle the hot salsa into the sterilized jars, leaving about 1/2 inch of headspace at the top. Wipe the rims of the jars with a clean, damp cloth to ensure a good seal. Place the lids on the jars and screw on the rings until they are finger-tight.
  4. Process the Jars: Place the filled jars onto the rack in your canning pot. Make sure the jars are covered by at least 1-2 inches of water. Bring the water to a boil and process the jars for 15 minutes (adjusting for altitude if necessary).
  5. Cool and Store: Carefully remove the jars from the canner and place them on a towel-lined surface to cool. Once completely cool, check the seals by pressing down on the center of each lid—if it doesn’t pop back, the jar is sealed. Store sealed jars in a cool, dark place for up to one year.

This Salsa for Canning is a flavorful and versatile condiment that preserves the taste of summer, ready to enjoy anytime the craving strikes!