Home Blog Page 811

Homemade Hamburger Helper

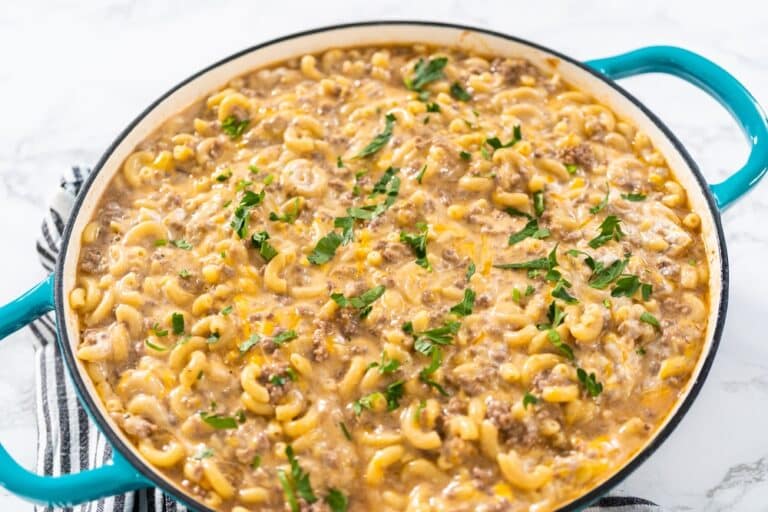
Homemade Hamburger Helper is a delicious and comforting meal that brings a nostalgic touch of childhood to your dinner table. This version is healthier and more flavorful than the boxed kind, made with real ingredients like ground beef, pasta, cheese, and a blend of spices. It’s a one-pot wonder that’s quick to prepare, making it perfect for busy weeknights. With a creamy, cheesy sauce and perfectly cooked pasta, this dish is sure to become a family favorite. Plus, you can customize it with your favorite veggies or extra seasonings to make it your own.

Ingredients:

  • 1 lb ground beef
  • 1 small onion, finely chopped
  • 2 cloves garlic, minced
  • 2 cups beef broth
  • 1 cup milk
  • 2 cups uncooked elbow macaroni
  • 1 can (14.5 oz) diced tomatoes, undrained
  • 1 teaspoon paprika
  • 1 teaspoon chili powder
  • 1 teaspoon garlic powder
  • 1 teaspoon onion powder
  • 1/2 teaspoon salt
  • 1/2 teaspoon black pepper
  • 2 cups shredded cheddar cheese
  • Fresh parsley, chopped (for garnish)

Instructions:

  1. Cook the Beef:
    • In a large skillet or pot, cook the ground beef over medium-high heat until it is no longer pink, breaking it up with a spoon as it cooks. Drain any excess fat.
  2. Add Aromatics:
    • Add the chopped onion and minced garlic to the skillet with the beef. Cook until the onion is softened, about 3-4 minutes.
  3. Add Liquid and Seasonings:
    • Stir in the beef broth, milk, uncooked elbow macaroni, diced tomatoes (with their juice), paprika, chili powder, garlic powder, onion powder, salt, and black pepper. Mix well to combine.
  4. Simmer:
    • Bring the mixture to a boil, then reduce the heat to low. Cover and simmer for about 10-12 minutes, or until the pasta is cooked through and has absorbed most of the liquid. Stir occasionally to prevent sticking.
  5. Add Cheese:
    • Once the pasta is cooked, remove the skillet from the heat and stir in the shredded cheddar cheese until it is melted and the sauce is creamy.
  6. Serve:
    • Garnish with freshly chopped parsley and serve hot.

Enjoy your Homemade Hamburger Helper, a comforting and flavorful dish that’s perfect for any night of the week!
3-Ingredient Baked Goat Cheese Dip

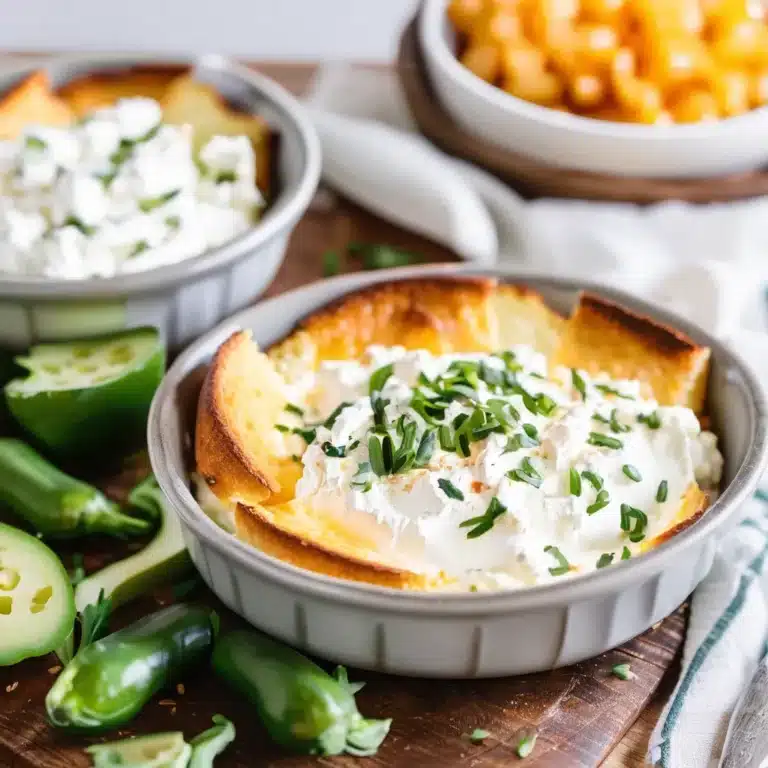
This 3-Ingredient Baked Goat Cheese Dip is the epitome of simplicity and elegance, perfect for any gathering or a cozy night in. With its creamy texture and rich, tangy flavor, this dip pairs beautifully with crusty bread, crackers, or fresh vegetables. The magic happens in the oven, where goat cheese is transformed into a warm, melty delight, topped with a layer of your favorite marinara sauce and a sprinkle of fresh herbs. Ready in just minutes, this dish is a testament to how a few quality ingredients can come together to create something truly special.

Ingredients:

  • 8 oz goat cheese
  • 1 cup marinara sauce
  • Fresh basil or parsley, chopped (for garnish)

Instructions:

  1. Preheat the Oven:
    • Preheat your oven to 375°F (190°C).
  2. Prepare the Dish:
    • Spread the goat cheese in an even layer in a small ovenproof baking dish.
  3. Add the Sauce:
    • Pour the marinara sauce over the goat cheese, spreading it gently to cover the cheese completely.
  4. Bake:
    • Place the baking dish in the preheated oven and bake for 15-20 minutes, or until the cheese is bubbly and the sauce is hot.
  5. Garnish and Serve:
    • Remove the dip from the oven and sprinkle with chopped fresh basil or parsley.
    • Serve immediately with crusty bread, crackers, or fresh vegetables for dipping.

Enjoy your 3-Ingredient Baked Goat Cheese Dip, a simple yet sophisticated appetizer that’s sure to impress!

Chicken Marsala

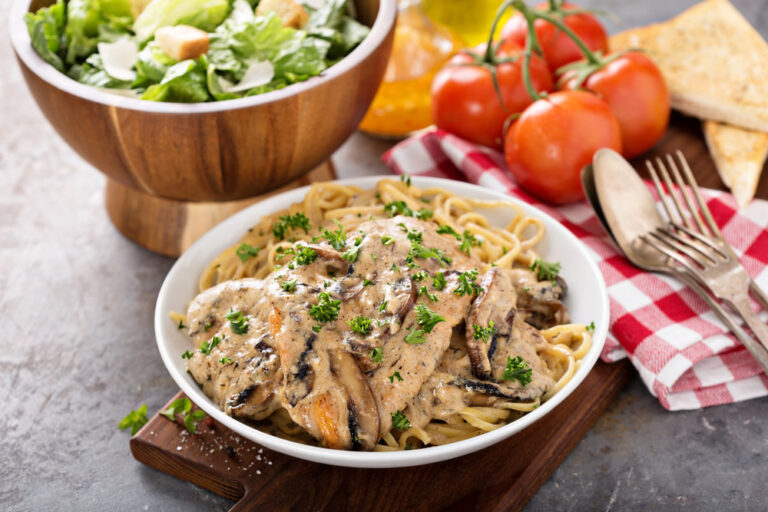
Chicken Marsala is a classic Italian-American dish that combines tender chicken breasts with a rich and flavorful sauce made from Marsala wine, mushrooms, and a touch of cream. This elegant yet simple dish is perfect for both weeknight dinners and special occasions. The savory and slightly sweet Marsala sauce perfectly complements the juicy chicken, creating a harmonious blend of flavors that is sure to impress your family and guests. Serve it over pasta, rice, or with a side of mashed potatoes to soak up every drop of the delicious sauce.

Ingredients:

  • 4 boneless, skinless chicken breasts
  • 1/2 cup all-purpose flour
  • Salt and pepper to taste
  • 3 tablespoons olive oil
  • 1 tablespoon butter
  • 8 oz mushrooms, sliced
  • 2 cloves garlic, minced
  • 3/4 cup Marsala wine
  • 3/4 cup chicken broth
  • 1/4 cup heavy cream (optional)
  • Fresh parsley, chopped (for garnish)

Instructions:

  1. Prepare the Chicken:
    • Place the chicken breasts between two sheets of plastic wrap and pound them to an even thickness of about 1/2 inch.
    • Season the flour with salt and pepper in a shallow dish. Dredge each chicken breast in the flour mixture, shaking off any excess.
  2. Cook the Chicken:
    • In a large skillet, heat 2 tablespoons of olive oil over medium-high heat. Add the chicken breasts and cook until golden brown and cooked through, about 4-5 minutes per side.
    • Remove the chicken from the skillet and set aside.
  3. Cook the Mushrooms:
    • In the same skillet, add the remaining tablespoon of olive oil and the butter. Once melted, add the sliced mushrooms and cook until they are browned and tender, about 5 minutes.
    • Add the minced garlic and cook for another minute until fragrant.
  4. Make the Sauce:
    • Pour the Marsala wine into the skillet, scraping up any browned bits from the bottom of the pan. Bring to a simmer and cook for about 2 minutes to reduce slightly.
    • Add the chicken broth and simmer for another 3-4 minutes until the sauce has reduced by half.
    • If using, stir in the heavy cream and cook for another 2 minutes until the sauce is thickened and creamy.
  5. Combine and Serve:
    • Return the chicken breasts to the skillet, spooning the sauce and mushrooms over the top. Cook for an additional 2-3 minutes to heat the chicken through and meld the flavors.
    • Garnish with freshly chopped parsley.

Serve your Chicken Marsala over pasta, rice, or with a side of mashed potatoes for a complete and satisfying meal. Enjoy this classic dish that brings a taste of Italy to your home!

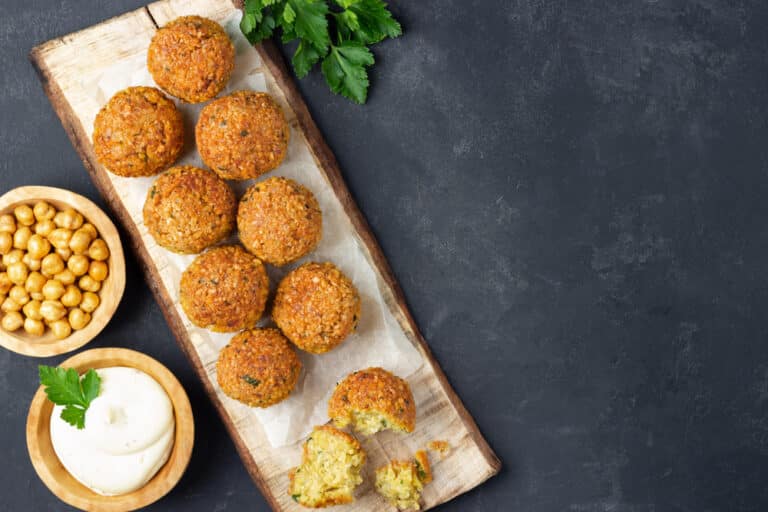
Falafel with Canned Chickpeas

Falafel is a popular Middle Eastern dish made from ground chickpeas, herbs, and spices, then fried to perfection. This recipe simplifies the process by using canned chickpeas, making it a quick and convenient way to enjoy this delicious vegetarian treat. The falafel balls are crispy on the outside and tender on the inside, bursting with fresh flavors from parsley, cilantro, and garlic. Serve these falafel balls in pita bread with fresh vegetables and a drizzle of tahini sauce for a satisfying and flavorful meal that’s perfect for lunch, dinner, or even as a snack.

Ingredients:

  • 2 cans (15 oz each) chickpeas, drained and rinsed
  • 1 small onion, roughly chopped
  • 3 cloves garlic
  • 1/4 cup fresh parsley
  • 1/4 cup fresh cilantro
  • 2 teaspoons ground cumin
  • 1 teaspoon ground coriander
  • 1/2 teaspoon baking powder
  • 3 tablespoons all-purpose flour
  • Salt and pepper to taste
  • Vegetable oil (for frying)

Instructions:

  1. Prepare the Chickpeas:
    • Place the drained and rinsed chickpeas on a clean kitchen towel or paper towels and pat them dry thoroughly.
  2. Make the Falafel Mixture:
    • In a food processor, combine the chickpeas, chopped onion, garlic, parsley, cilantro, ground cumin, ground coriander, baking powder, flour, salt, and pepper.
    • Pulse the mixture until it becomes a coarse paste. Be careful not to over-process; the mixture should be chunky, not smooth.
  3. Shape the Falafel:
    • Transfer the mixture to a bowl and refrigerate for at least 30 minutes to firm up.
    • With wet hands, form the mixture into small balls or patties, about 1-2 inches in diameter.
  4. Fry the Falafel:
    • Heat about 2 inches of vegetable oil in a deep pan or skillet over medium-high heat.
    • Fry the falafel in batches, making sure not to overcrowd the pan. Cook each batch for about 2-3 minutes on each side, or until golden brown and crispy.
    • Remove the falafel from the oil and drain on paper towels.
  5. Serve:
    • Serve the falafel warm, in pita bread or flatbreads, with fresh vegetables such as lettuce, tomatoes, cucumbers, and red onions.
    • Drizzle with tahini sauce or your favorite dressing. Garnish with additional parsley or cilantro if desired.

Enjoy your homemade falafel with canned chickpeas, a delicious and easy way to bring the flavors of the Middle East to your kitchen!

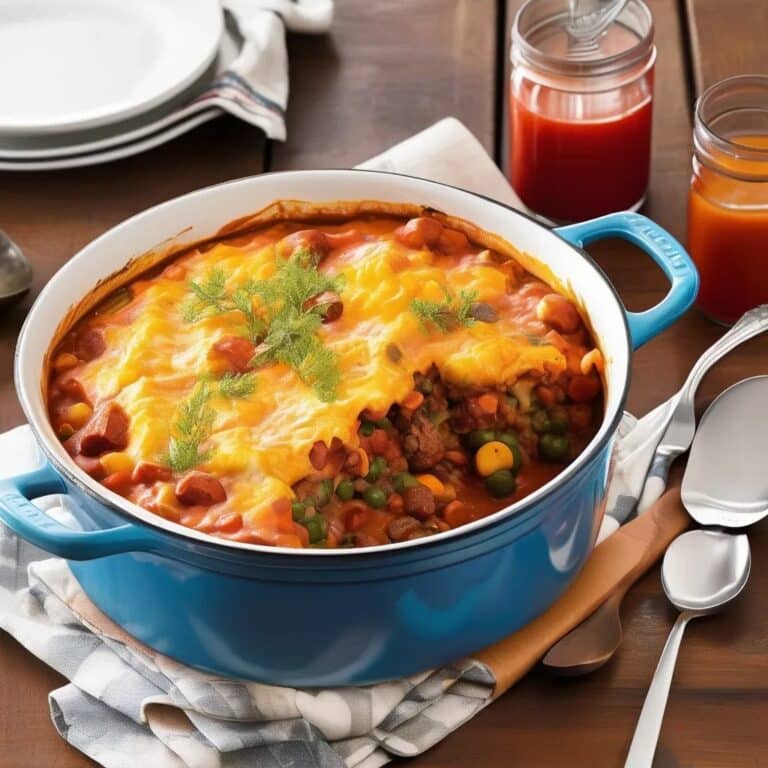
Shipwreck Casserole

Shipwreck Casserole is a hearty and comforting dish that layers ground beef, vegetables, and rice in a rich tomato sauce. This budget-friendly, one-pan meal is perfect for busy weeknights when you need something simple yet satisfying. As it bakes, the flavors meld together beautifully, resulting in a savory casserole that is sure to please the whole family. Its name may suggest chaos, but the result is a deliciously organized and flavorful dish that stands the test of time.

Ingredients:

  • 1 lb ground beef
  • 1 large onion, chopped
  • 2 cloves garlic, minced
  • 3 medium potatoes, thinly sliced
  • 2 large carrots, thinly sliced
  • 1 cup uncooked white rice
  • 1 can (14.5 oz) diced tomatoes, undrained
  • 1 can (10.75 oz) condensed tomato soup
  • 1 cup beef broth
  • 1 cup water
  • 1 teaspoon dried oregano
  • 1 teaspoon dried basil
  • Salt and pepper to taste
  • 1 cup shredded cheddar cheese (optional)

Instructions:

  1. Preheat the Oven:
    • Preheat your oven to 350°F (175°C).
  2. Cook the Beef:
    • In a large skillet, cook the ground beef over medium heat until it is browned and fully cooked, breaking it apart as it cooks. Drain any excess fat.
    • Add the chopped onion and minced garlic to the skillet and cook until the onion is softened, about 5 minutes.
  3. Assemble the Casserole:
    • In a large casserole dish, layer the thinly sliced potatoes to cover the bottom.
    • Next, add a layer of the sliced carrots.
    • Sprinkle the uncooked rice evenly over the vegetables.
    • Add the cooked ground beef and onion mixture on top of the rice layer.
  4. Prepare the Sauce:
    • In a mixing bowl, combine the diced tomatoes (with juice), condensed tomato soup, beef broth, water, dried oregano, and dried basil. Mix well.
    • Pour the tomato mixture evenly over the casserole, ensuring the liquid covers all the layers.
  5. Bake:
    • Cover the casserole dish with aluminum foil and bake in the preheated oven for 1 hour.
    • After 1 hour, remove the foil and sprinkle the shredded cheddar cheese (if using) over the top.
    • Bake uncovered for an additional 15-20 minutes, or until the cheese is melted and bubbly and the potatoes are tender.
  6. Serve:
    • Let the casserole sit for a few minutes before serving to allow it to set. Scoop generous portions onto plates and enjoy.

Enjoy your Shipwreck Casserole, a deliciously layered and comforting meal that’s perfect for any family dinner!

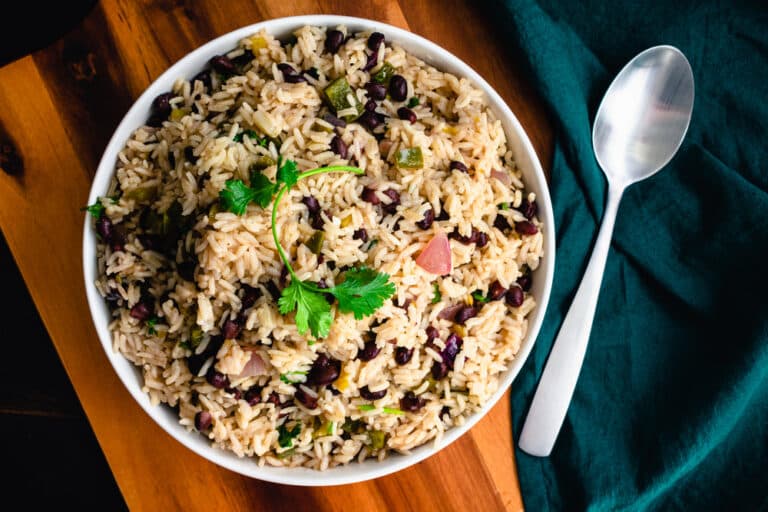
Black Beans and Rice

Black Beans and Rice is a classic and versatile dish that is both delicious and nutritious. This hearty meal is a staple in many Latin American cuisines, known for its comforting blend of tender black beans, fluffy rice, and aromatic spices. Whether served as a main course or a side dish, it’s a fantastic option for vegetarians and meat-eaters alike. The combination of protein-rich beans and fiber-packed rice makes it a wholesome and satisfying dish, perfect for any day of the week. Simple to prepare yet full of flavor, this recipe is sure to become a favorite in your culinary repertoire.

Ingredients:

  • 1 cup long-grain white rice
  • 2 cups water
  • 1 tablespoon vegetable oil
  • 1 medium onion, finely chopped
  • 1 bell pepper (any color), diced
  • 2 cloves garlic, minced
  • 1 teaspoon ground cumin
  • 1 teaspoon dried oregano
  • 1/2 teaspoon smoked paprika
  • 1 can (15 oz) black beans, drained and rinsed
  • 1 cup vegetable broth or water
  • 1 bay leaf
  • Salt and pepper to taste
  • 1 tablespoon lime juice
  • Fresh cilantro, chopped (for garnish)

Instructions:

  1. Cook the Rice:
    • In a medium saucepan, bring 2 cups of water to a boil. Add the rice, reduce the heat to low, cover, and simmer for about 15 minutes, or until the rice is tender and the water is absorbed. Remove from heat and let it sit covered for 5 minutes, then fluff with a fork.
  2. Prepare the Vegetables:
    • In a large skillet, heat the vegetable oil over medium heat. Add the chopped onion and bell pepper, cooking until they are soft and the onion is translucent, about 5 minutes.
    • Add the minced garlic, ground cumin, dried oregano, and smoked paprika. Cook for another 1-2 minutes until fragrant.
  3. Cook the Beans:
    • Add the drained black beans, vegetable broth (or water), and bay leaf to the skillet. Bring to a simmer and cook for about 10-15 minutes, allowing the flavors to meld and the liquid to reduce slightly.
    • Season with salt and pepper to taste. Remove the bay leaf and stir in the lime juice.
  4. Combine and Serve:
    • Gently fold the cooked rice into the black bean mixture until well combined.
    • Serve the black beans and rice in bowls or as a side dish, garnished with fresh chopped cilantro.

Enjoy your Black Beans and Rice, a wholesome and flavorful dish that’s perfect for any occasion!

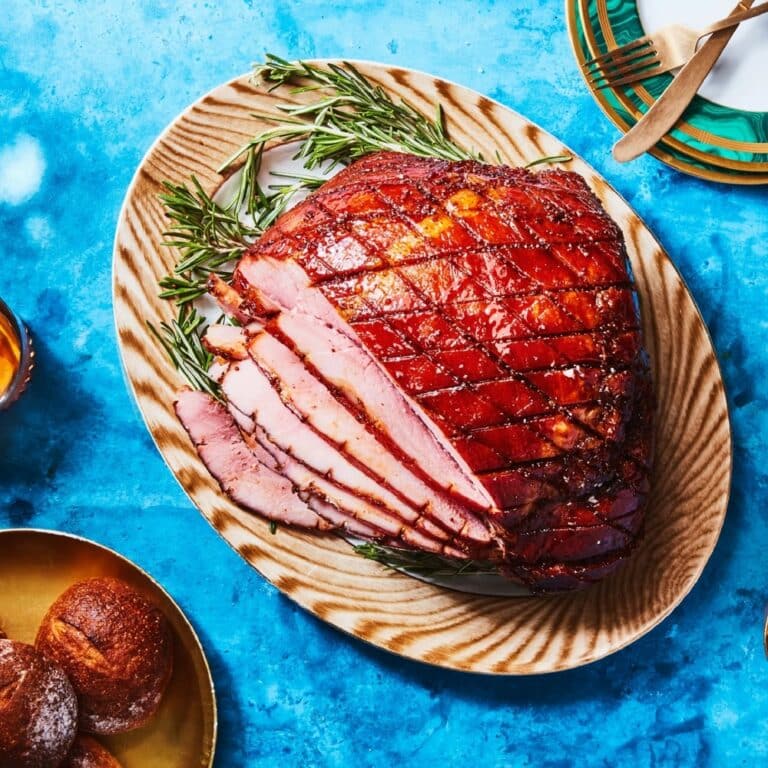
Brown Sugar Ham Steak

Brown Sugar Ham Steak is a delightful and easy-to-make dish that brings together the savory flavor of ham with the sweet, caramelized richness of brown sugar. Perfect for breakfast, brunch, or even a quick dinner, this recipe requires minimal ingredients and time but delivers maximum flavor. The ham steak is seared to perfection and then glazed with a mixture of brown sugar and butter, creating a mouthwatering sweet and savory coating that enhances the natural taste of the ham. Serve it with eggs, potatoes, or a fresh salad for a complete and satisfying meal that’s sure to please everyone.

Ingredients:

  • 1 large ham steak (about 1-1.5 lbs)
  • 2 tablespoons butter
  • 1/4 cup brown sugar
  • 1 tablespoon Dijon mustard (optional)
  • 1/2 teaspoon ground cinnamon (optional)
  • Pinch of cloves (optional)
  • Fresh parsley, chopped (for garnish)

Instructions:

  1. Prepare the Ham Steak:
    • Pat the ham steak dry with paper towels to remove any excess moisture.
  2. Sear the Ham Steak:
    • In a large skillet over medium-high heat, melt 1 tablespoon of butter.
    • Add the ham steak to the skillet and cook for about 3-4 minutes on each side until it is golden brown and heated through. Remove the ham steak from the skillet and set it aside.
  3. Make the Brown Sugar Glaze:
    • In the same skillet, reduce the heat to medium and add the remaining 1 tablespoon of butter.
    • Once the butter is melted, add the brown sugar, stirring until it is fully dissolved and starts to bubble.
    • If using, add the Dijon mustard, ground cinnamon, and cloves to the glaze, stirring to combine.
  4. Glaze the Ham Steak:
    • Return the ham steak to the skillet, spooning the brown sugar glaze over it.
    • Cook for an additional 2-3 minutes, occasionally spooning the glaze over the ham steak to ensure it is well coated.
  5. Serve:
    • Transfer the glazed ham steak to a serving plate and drizzle any remaining glaze from the skillet over the top.
    • Garnish with freshly chopped parsley.

Enjoy your Brown

Spicy Canned Salmon Salad Rice Bowl

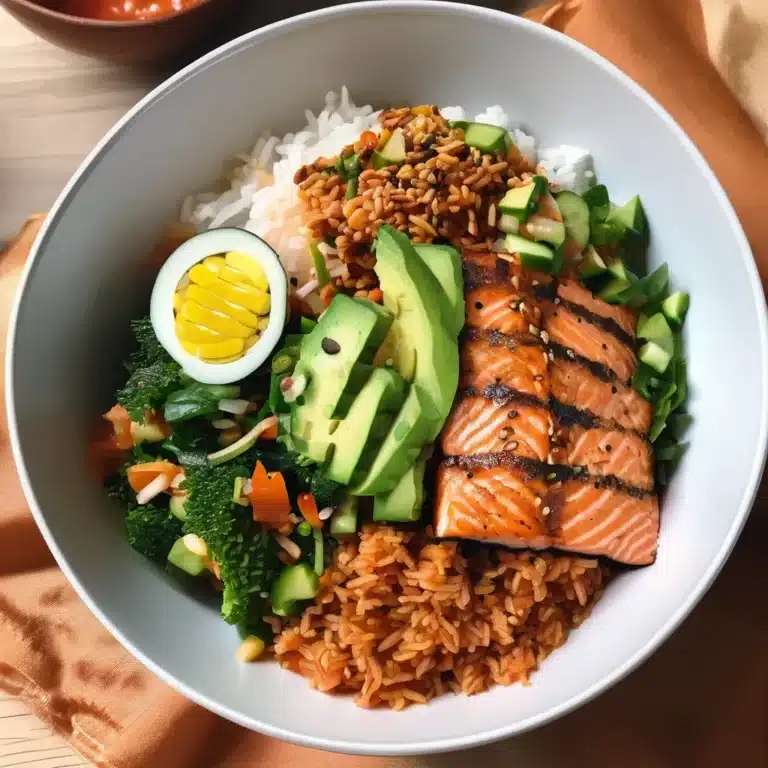
The Spicy Canned Salmon Salad Rice Bowl is a vibrant, nutritious meal that’s perfect for a quick lunch or dinner. Combining the convenience of canned salmon with the bold flavors of a spicy dressing, this dish offers a deliciously satisfying balance of protein, fresh vegetables, and fluffy rice. The creamy salmon salad is infused with sriracha and sesame oil for a kick, complemented by the crisp texture of cucumbers, carrots, and edamame. This easy-to-prepare rice bowl is not only packed with flavor but also customizable to your taste, making it an ideal choice for a healthy and flavorful meal.

Ingredients

For the Spicy Salmon Salad:

  • 1 can (14.75 ounces) salmon, drained and flaked
  • 2 tablespoons mayonnaise
  • 1 tablespoon sriracha (adjust to taste)
  • 1 teaspoon soy sauce
  • 1 teaspoon rice vinegar
  • 1/2 teaspoon sesame oil
  • 1 green onion, finely chopped
  • Salt and pepper, to taste

For the Rice Bowl:

  • 2 cups cooked jasmine or brown rice
  • 1 cucumber, thinly sliced
  • 1 carrot, julienned
  • 1 avocado, sliced
  • 1 cup edamame, shelled and cooked
  • 2 tablespoons sesame seeds
  • 1 sheet nori, cut into thin strips (optional)
  • Fresh cilantro or parsley, chopped (for garnish)
  • Lime wedges (for serving)

Instructions

  1. Prepare the spicy salmon salad: In a medium bowl, combine the flaked salmon, mayonnaise, sriracha, soy sauce, rice vinegar, sesame oil, and chopped green onion. Mix until well combined. Taste and adjust the seasoning with salt and pepper, if needed.
  2. Assemble the rice bowls: Divide the cooked rice evenly between two bowls. Arrange the cucumber slices, julienned carrot, avocado slices, and edamame around the rice in each bowl.
  3. Add the salmon salad: Spoon the spicy salmon salad on top of the rice in each bowl, spreading it evenly.
  4. Garnish: Sprinkle sesame seeds over the top and add strips of nori, if using. Garnish with fresh cilantro or parsley.
  5. Serve: Serve immediately with lime wedges on the side for squeezing over the bowl.

Enjoy your Spicy Canned Salmon Salad Rice Bowl as a quick, nutritious, and delicious meal that brings together the perfect combination of spicy, creamy, and fresh flavors in every bite.

Grilled Tomahawk Steak

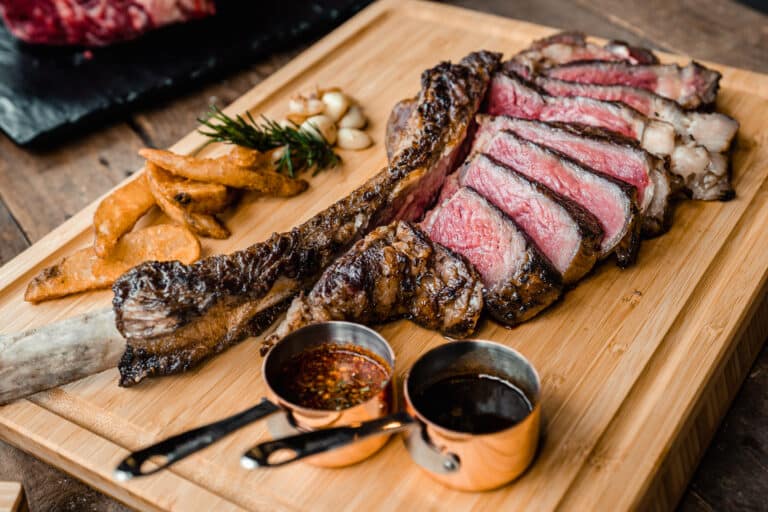
Grilled Tomahawk Steak is the epitome of indulgence, offering a visually stunning and incredibly flavorful dining experience. This impressive cut of beef, with its long rib bone and generous marbling, is perfect for special occasions or when you want to treat yourself to something extraordinary. Grilling the tomahawk steak enhances its natural flavors, resulting in a juicy, tender, and perfectly charred piece of meat. With just a few simple seasonings and the right grilling technique, you can create a restaurant-quality steak that will leave everyone in awe.

Ingredients

  • 1 tomahawk ribeye steak (2-3 pounds, about 2 inches thick)
  • 2 tablespoons olive oil
  • Salt and pepper, to taste
  • 2-3 sprigs of fresh rosemary
  • 2-3 sprigs of fresh thyme
  • 4 cloves garlic, crushed
  • 1 tablespoon butter

Instructions

  1. Prepare the steak: Remove the tomahawk steak from the refrigerator and let it sit at room temperature for about 1 hour before grilling. This ensures even cooking.
  2. Season the steak: Rub the steak all over with olive oil. Generously season both sides with salt and pepper, pressing the seasonings into the meat.
  3. Preheat the grill: Preheat your grill to high heat, around 500°F (260°C). If using a charcoal grill, prepare a two-zone fire, with one side hot for searing and the other cooler for finishing the steak.
  4. Grill the steak: Place the tomahawk steak on the hot side of the grill. Sear for 4-5 minutes per side, or until a nice crust forms. If flare-ups occur, move the steak to a cooler part of the grill momentarily.
  5. Finish cooking: Move the steak to the cooler side of the grill. Add the fresh rosemary, thyme, and crushed garlic to the top of the steak. Close the grill lid and continue cooking until the internal temperature reaches your desired doneness: 125°F (52°C) for rare, 135°F (57°C) for medium-rare, 145°F (63°C) for medium. This usually takes about 10-20 minutes, depending on the thickness of the steak and the heat of your grill.
  6. Rest the steak: Remove the steak from the grill and place it on a cutting board. Top with butter and let it rest for 10-15 minutes. This allows the juices to redistribute throughout the meat.
  7. Serve: Slice the tomahawk steak against the grain and serve with your favorite sides.

Enjoy your Grilled Tomahawk Steak as a show-stopping centerpiece for any special meal, offering a perfect blend of rich flavors, tender texture, and impressive presentation.

Fish in Foil

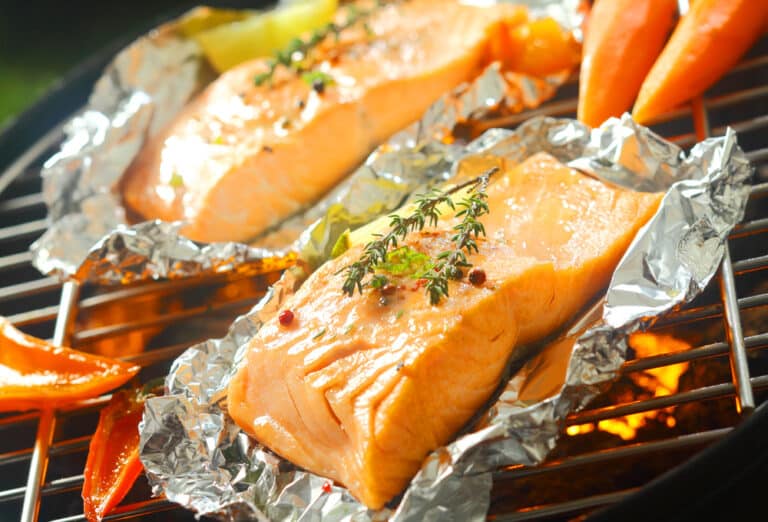
Fish in Foil is a simple and versatile dish that makes cooking fish a breeze, while locking in moisture and flavor. Perfect for busy weeknights or a relaxed weekend dinner, this method involves wrapping tender fish fillets with fresh vegetables, herbs, and a touch of lemon in aluminum foil packets. As it bakes, the ingredients steam together, creating a flavorful and aromatic meal with minimal cleanup. Whether you’re using salmon, cod, or tilapia, this recipe ensures a perfectly cooked, flaky fish every time. Serve it with a side of rice or a fresh salad for a complete and nutritious meal.

Ingredients:

  • 4 fish fillets (salmon, cod, tilapia, or your choice)
  • 1 lemon, thinly sliced
  • 2 cups mixed vegetables (cherry tomatoes, bell peppers, zucchini, or your choice), thinly sliced
  • 2 cloves garlic, minced
  • 2 tablespoons olive oil
  • 1 teaspoon dried oregano or thyme
  • Salt and pepper to taste
  • Fresh parsley or dill, chopped (for garnish)

Instructions:

  1. Preheat and Prepare:
    • Preheat your oven to 400°F (200°C). Tear off four large sheets of aluminum foil, each about 12-14 inches long.
  2. Assemble the Packets:
    • Place one fish fillet in the center of each sheet of foil. Season both sides of the fish with salt and pepper.
    • Divide the mixed vegetables evenly among the foil sheets, placing them around and on top of the fish fillets.
    • Sprinkle the minced garlic and dried oregano or thyme over the fish and vegetables.
    • Drizzle each packet with olive oil and top with lemon slices.
  3. Seal the Foil Packets:
    • Fold the sides of the foil over the fish and vegetables, then fold the top and bottom edges to create a sealed packet. Make sure the packets are well-sealed to trap the steam inside.
  4. Bake:
    • Place the foil packets on a baking sheet and bake in the preheated oven for 20-25 minutes, or until the fish is cooked through and flakes easily with a fork.
  5. Serve:
    • Carefully open the foil packets, being cautious of the hot steam. Transfer the fish and vegetables to plates and garnish with freshly chopped parsley or dill.

Enjoy your Fish in Foil, a delicious and hassle-free meal that’s perfect for any occasion!